Deploy a template with parameters
Deploy your very first DRM template with a parameters set.
In this tutorial we will generate a template, create a parameters file and deploy the template to a Dynamics environment.
Prerequisites
- A Dynamics environment with system administrator access, this is the environment you will use to deploy a template into.
- PowerShell 5+ to deploy the template.
Install the PowerShell module
You can install the PowerShell module from the PowerShell gallery.
Currently we only support PowerShell Desktop v5 upwards.
Install-Module -Name Drm.Templates.Powershell -AllowClobber
Generate a template
To generate the template we will need to connect to the Dynamics environment.
In PowerShell run the command below.
Connect-Crmonline -Username "<useraccount>" -ServerUrl <dynamics url>
Once connected run the command below to return the first queue in the environment.
New-DrmTemplate -entityName queues -filter '$select=name&$top=1'
Note
By default templates are saved at the working directory location. To change the location of the
saved template use the -OutputToFile parameter.
Add parameter definitions to the template file
For this tutorial we will add parameters for the queueid and name values.
Replace the empty parameters object with the following json.
"parameters": {
    "queueId":{
      "type": "string"
    },
    "name":{
      "type": "string"
    },
    "env":{
      "type": "string"
    }
  }
Next reference the new parameters in the queue itself.
The whole template should now look like something like this.
{
  "$schema": "https://schemas.drmtemplates.io/2021-03-01/deploymentTemplate.json#",
  "contentVersion": "1.0.0.0",
  "parameters": {
    "queueId":{
      "type": "string"
    },
    "name":{
      "type": "string"
    },
    "env":{
      "type": "string"
    }
  },
  "resources": [
    {
      "targetenvironment": {
        "bearerToken": "<Enter token here>",
        "url": "<Your Dynamics URL>"
      },
      "type": "drm.crmbaseentity/queues",
      "apiVersion": "2023-01-09",
      "name": "GeneratedTemplateFor_queues",
      "properties": {
        "data": [
          {
            "queueid": "[parameters('queueId')]",
            "name": "[concat(parameters('name'), '-', parameters('env'))]"
          }
        ]
      }
    }
  ]
}
Note
To set parameter default values in templates themselves just include the property defaultValue
when setting parameter definitions.
Define a parameters file
Create a new file called drmdemo.params.json in the same location as your template.
Copy the json below into the file.
{
  "$schema": "https://schemas.drmtemplates.io/2021-03-01/deploymentParameters.json#",
  "contentVersion": "1.0.0.0",
  "parameters": {
    "queueId": {
      "value": "3d995524-6467-476d-b3ee-5ace89a31f16"
    },
    "name": {
      "value": "drmtemplates-queue"
    },
    "env": {
      "value": "demo"
    }
  }
}
Warning
The queueId is set to 3d995524-6467-476d-b3ee-5ace89a31f16 which is a randomly generated id. When
deploying this template a new queue will be created.
Deploy the template
Before we deploy we will need to paste into the template a bearer token.
We are going to deploy the template into the same environment we generated the token from.
Run the command below to get the bearer token and copy it into the template by replacing the text <Enter token here>.
$conn.CurrentAccessToken
In your PowerShell session run the following command to deploy the template with parameters.
New-DrmDeployment -TemplateFile '<absolute path to the template file>' -TemplateParameterFile '<absolute path to the parameters file>'
When the command completes you should see the output below.

Check the queues in your dynamics environment for a queue with name drmtemplates-queue-demo
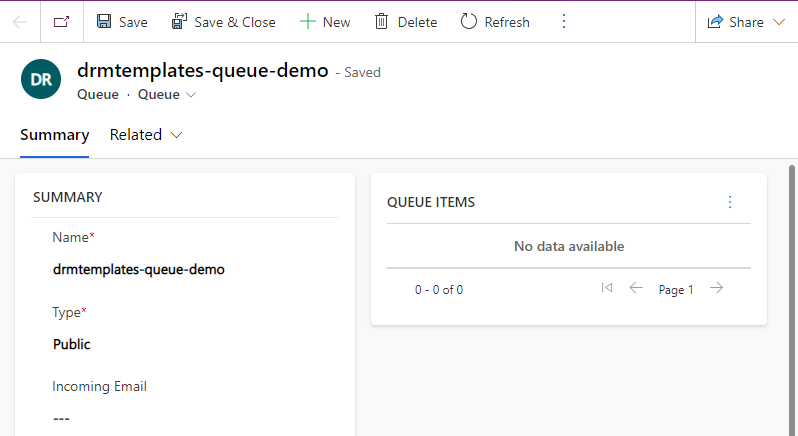
If you change the name of the queue and rerun the template the queue will be updated with the new name.